This manual provides a comprehensive guide for installing the Honeywell TH6220U2000 thermostat, ensuring ease of use, safety, and optimal system performance. It covers essential steps, configurations, and troubleshooting tips to help users achieve efficient heating and cooling control.
1.1 Overview of the Honeywell TH6220U2000 Thermostat
The Honeywell TH6220U2000 is a programmable thermostat designed for efficient temperature control in residential settings. It offers advanced features like geofencing, smart home integration, and energy-saving modes. Compatible with various HVAC systems, this thermostat ensures precise heating and cooling management. Its user-friendly interface and programmable schedules make it ideal for optimizing comfort and energy use. The device supports remote access through the Honeywell Home app, allowing users to adjust settings conveniently. This thermostat is part of Honeywell’s T6 Pro series, known for reliability and modern functionality.
1.2 Importance of Following the Installation Manual
Following the Honeywell TH6220U2000 installation manual ensures a safe and correct setup, preventing potential damage to the thermostat or HVAC system. Proper installation guarantees optimal performance, energy efficiency, and compatibility with existing systems. Missteps can lead to malfunction, safety hazards, or voiding the warranty. The manual provides step-by-step guidance, minimizing errors and ensuring compliance with safety standards. Adhering to the instructions helps users avoid costly repairs and ensures reliable operation of the thermostat for years to come.
System Requirements and Compatibility
The Honeywell TH6220U2000 is compatible with most HVAC systems, including forced air, heat pumps, and radiant floor systems. It operates on 24V AC power and supports both heating and cooling configurations.
2.1 Heating and Cooling System Compatibility
The Honeywell TH6220U2000 thermostat is designed to work seamlessly with various heating and cooling systems, including gas furnaces, heat pumps, and radiant floor systems. It supports both single-stage and multi-stage HVAC setups, ensuring compatibility with a wide range of configurations. The thermostat is also compatible with systems that require a common wire (C-wire) and those that do not, offering flexibility for different installation scenarios. Proper system compatibility ensures efficient performance and accurate temperature control, making it suitable for both new and existing installations. This versatility simplifies the installation process and guarantees reliable operation across diverse heating and cooling setups.
2.2 Electrical Requirements for Installation
The Honeywell TH6220U2000 thermostat requires a 24V AC power supply and is compatible with systems that use a common wire (C-wire). It operates within a voltage range of 20V AC to 30V AC and is designed to handle a maximum current of 1mA. Proper wiring connections are essential to ensure safe and efficient operation. The thermostat is not compatible with line voltage (120V/240V) systems, so it is crucial to verify the electrical setup before installation. Always disconnect power to the HVAC system before starting the installation process to avoid electrical hazards.
Tools and Materials Needed for Installation
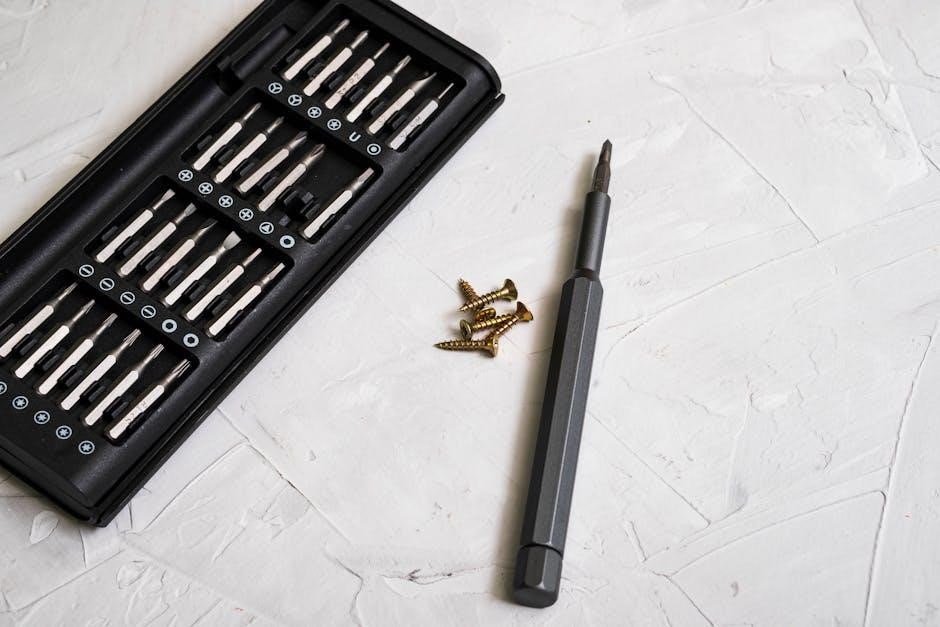
A screwdriver, drill, screws, wall anchors, and a level are essential tools. Additional materials include a mounting adapter plate and wiring connectors for secure installation.
3.1 List of Required Tools
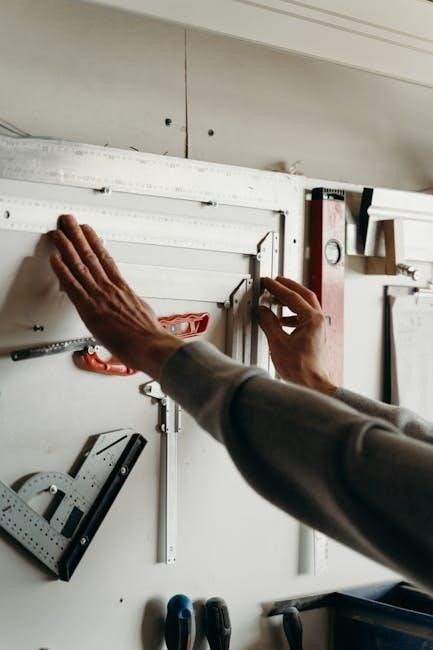
A flathead screwdriver, Phillips screwdriver, drill, drill bits, screws, wall anchors, and a level are necessary for mounting. Pliers, wire strippers, and a voltage tester ensure safe wiring connections. A marker or pencil is needed for marking drill holes. These tools help simplify the installation process and ensure proper alignment and secure mounting of the Honeywell TH6220U2000 thermostat.
3.2 Additional Materials for Mounting
Ensure you have a wall plate or mounting bracket for secure installation. Use drywall anchors or screws to prevent damage to the wall. Spacers or shims may be needed for uneven surfaces. A J-box adapter is recommended for older systems. Verify all materials are compatible with your wall type to avoid installation issues. These accessories ensure the Honeywell TH6220U2000 thermostat is mounted safely and securely, maintaining its functionality and longevity. Always refer to the manual for specific requirements.
Safety Precautions Before Installation
Always turn off power at the circuit breaker before starting installation. Verify power is off using a voltage tester. Handle electrical components with care to avoid damage or risk of electric shock.
4.1 Power Shutdown Procedures
Before starting the installation, ensure the HVAC system is turned off via the thermostat interface. Locate the circuit breaker controlling the system and switch it to the “OFF” position; Verify power is completely off using a voltage tester; Never rely solely on the thermostat switch to ensure safety. Allow the system to cool down for a few minutes to prevent any residual power discharge. Proper power shutdown is critical to avoid electrical hazards and ensure safe installation.
4.2 Handling Electrical Components Safely
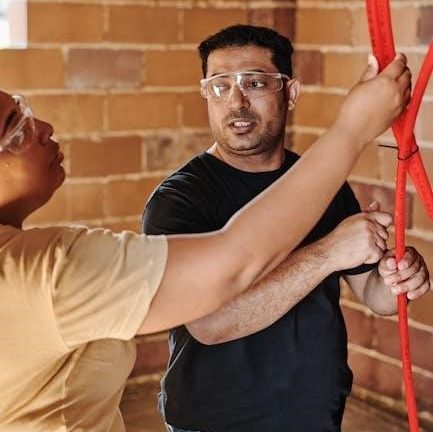
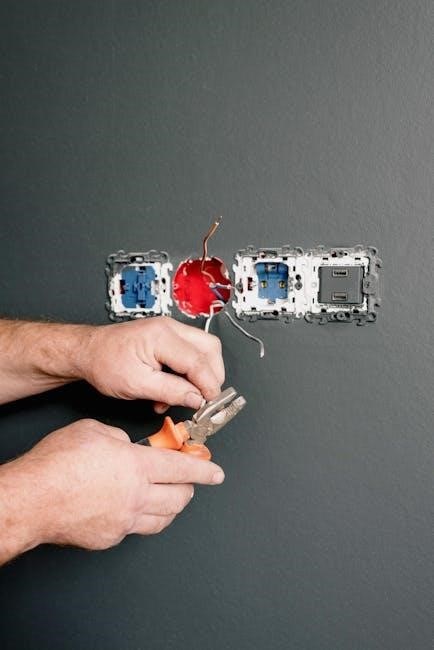
Always disconnect power before handling electrical components to prevent shocks or injuries. Use a voltage tester to confirm power is off at the thermostat and HVAC system. Wear insulated gloves and safety glasses for added protection. Avoid touching electrical wires or terminals with bare hands or in damp conditions. Ensure the work area is dry and well-lit. Never force connections or bend wires excessively, as this can cause damage. Follow all safety guidelines to ensure a secure and hazard-free installation process.
Step-by-Step Installation Guide
This section provides a detailed, user-friendly guide for installing the Honeywell TH6220U2000 thermostat, covering mounting, wiring, and system connections to ensure a smooth and safe setup process.
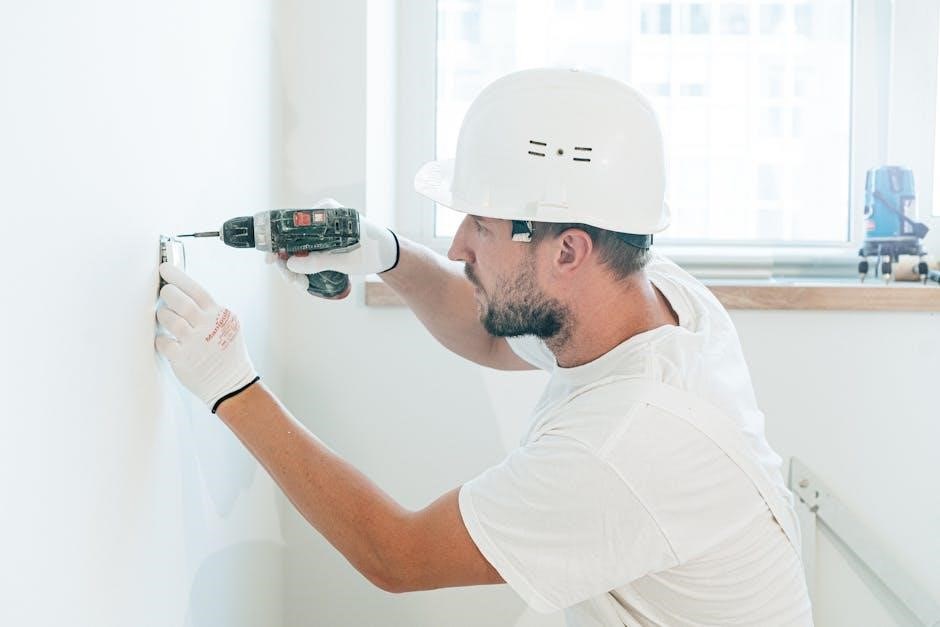
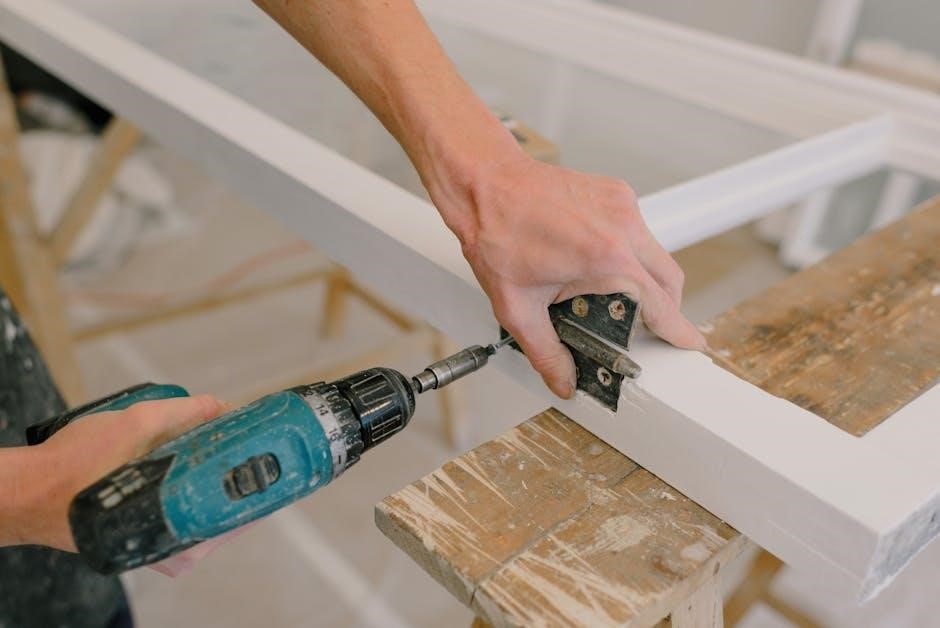
5.1 Mounting the Thermostat
Begin by turning off the power to your HVAC system. Prepare the surface by cleaning and leveling it. Remove the old thermostat and install the UWP mounting system or J-box adapter for proper fitting. Align the Honeywell TH6220U2000 thermostat with the mounting screws, ensuring it is secure and even. Follow the manual’s detailed instructions for specific mounting configurations to ensure a stable and accurate installation. Refer to the guide for additional mounting options and accessories.
5.2 Wiring the Thermostat
Before wiring, ensure the power to your HVAC system is turned off. Refer to the wiring labels in the manual to identify and connect each wire correctly. Match the wires from your existing system to the corresponding terminals on the Honeywell TH6220U2000 thermostat. Use the provided wiring labels for clarity. If your system requires a common wire, ensure it is properly connected. For complex wiring setups, consult the wiring diagram in the manual. If unsure, consider consulting a licensed electrician to avoid errors;
5.3 Connecting to HVAC Systems
After wiring, ensure the thermostat is properly connected to your HVAC system. Enable the system by setting the thermostat to the appropriate mode (heating or cooling). Verify compatibility with your HVAC system type, as outlined in the manual. Configure the system settings, such as changeover mode, to match your HVAC setup. For dual-fuel systems, ensure the changeover differential is set correctly. Refer to the manual for specific configuration instructions to optimize performance and compatibility with your HVAC equipment.
Configuration and Setup Post-Installation
After installation, configure the thermostat by setting up the initial system preferences, including temperature ranges and scheduling options. Use the Honeywell Home app for remote access and programmable features to optimize your comfort and energy savings. Refer to the manual for detailed steps on customizing settings and ensuring proper system operation.
6.1 Initial System Setup
After installation, power on the thermostat and follow the on-screen prompts to set up basic configurations. Choose your preferred temperature range, heating and cooling modes, and system operation. Use the Honeywell Home app to enable remote access and programmable schedules. Ensure all settings align with your HVAC system compatibility. Refer to the manual for detailed instructions on navigating the menu and customizing preferences to optimize performance and energy efficiency. Proper setup ensures seamless operation and comfort control.
6.2 Setting Up Programmable Schedules
To create a programmable schedule, navigate to the menu and select “Schedules” or “Program” depending on your model. Set temperature preferences for different times of the day, such as wake, sleep, and away periods. Use the Honeywell Home app to remotely configure schedules for convenience. Ensure energy efficiency by adjusting settings to match your daily routine. Review and modify schedules as needed to optimize comfort and energy savings. Proper programming enhances system performance and reduces energy consumption.

Advanced Features of the Honeywell TH6220U2000
The Honeywell TH6220U2000 offers smart home integration, geofencing, and energy-saving modes, providing convenience and efficiency for users.
7.1 Geofencing and Smart Home Integration
The Honeywell TH6220U2000 supports geofencing, which automatically adjusts temperature settings based on your location. This feature uses your smartphone’s GPS to detect when you leave or approach home, optimizing energy usage and comfort. Additionally, the thermostat seamlessly integrates with smart home systems, allowing voice control and remote adjustments via the Honeywell Home app. This app, available on the App Store and Google Play, enables advanced configurations and remote monitoring, enhancing convenience and efficiency for users.
7.2 Energy-Saving Modes and Settings
The Honeywell TH6220U2000 offers energy-saving modes designed to optimize your heating and cooling usage. Features like programmable schedules and auto-changeover settings help reduce energy consumption by adjusting temperatures when you’re not home or when it’s not needed. The thermostat also includes an energy-saving mode that learns your preferences and system performance to minimize waste. By configuring these settings through the Honeywell Home app, you can achieve significant energy savings while maintaining comfort and efficiency year-round.
Troubleshooting Common Installation Issues
Address common installation problems such as wiring errors, display malfunctions, or connectivity issues with step-by-step solutions to ensure smooth operation of your Honeywell TH6220U2000 thermostat.
8.1 Resolving Wiring and Connection Problems
Wiring issues often arise from incorrect terminal connections. Refer to the Honeywell TH6220U2000 installation manual for proper wiring diagrams. Ensure all terminals are securely connected and match the system requirements. If the display fails to power on, check for loose wires or incorrect voltage supply. Verify that the HVAC system is compatible with the thermostat’s wiring configuration. Consulting the troubleshooting section or contacting support can help resolve persistent connection problems effectively and safely.
8.2 Addressing Display or Responsiveness Issues
If the display is unresponsive or not lighting up, check the screen settings in the Honeywell TH6220U2000 manual. Ensure the backlight is enabled and adjust brightness if necessary. Restart the thermostat by disconnecting and reconnecting the power supply. Verify all wiring connections are secure and correct. If issues persist, update the thermostat’s firmware via the Honeywell Home app or perform a factory reset. Contact Honeywell support if problems remain unresolved for further assistance.
Maintenance and Upkeep Tips
Regular maintenance ensures optimal performance. Clean the thermostat, check for firmware updates, and verify settings. Schedule periodic checks to maintain efficiency and functionality over time.
9.1 Cleaning the Thermostat
Regular cleaning ensures accurate temperature readings and optimal performance. Turn off power to the system before cleaning. Gently wipe the display and exterior with a soft, dry cloth. Avoid harsh chemicals or liquids, as they may damage the device. For stubborn dust, use a slightly damp microfiber cloth, but ensure no moisture enters the unit. Clean the sensors periodically to maintain accuracy. Refer to the Honeywell Home app for maintenance reminders to keep your thermostat functioning at its best. This simple upkeep prolongs the device’s lifespan and ensures reliable operation. Always handle the thermostat with care to avoid damage. Cleaning is a straightforward process that requires minimal tools but yields significant benefits for overall system efficiency. By maintaining a clean thermostat, you ensure precise temperature control and energy savings. Regular maintenance also helps prevent potential issues before they arise. Keep your Honeywell TH6220U2000 in pristine condition for consistent performance and reliability.
9.2 Updating Firmware and Software
Updating your Honeywell TH6220U2000 thermostat’s firmware and software ensures optimal performance and access to new features. Connect the thermostat to your network and use the Honeywell Home app to check for updates. Follow on-screen instructions to download and install the latest version. A stable internet connection is required for a smooth update process. Regular updates improve functionality, security, and compatibility. Always allow the update to complete without interruption to avoid system issues. Keeping your thermostat up-to-date guarantees enhanced efficiency and reliability in temperature control. Schedule periodic checks to stay current with the latest advancements.
Linking the Thermostat to the Honeywell Home App
Download the Honeywell Home app from the App Store or Google Play to link your thermostat. Use the app’s PRO installation feature to configure settings and enable remote access for seamless control of your Honeywell TH6220U2000 thermostat.
10.1 Downloading and Installing the App
To begin, download the Honeywell Home app from the App Store for iOS devices or Google Play Store for Android. Once installed, open the app and create an account or log in if you already have one. The app will guide you through linking your thermostat, ensuring a smooth setup process for remote access and smart home integration.
10.2 Configuring Remote Access Features
After installing the Honeywell Home app, navigate to the settings menu to enable remote access. Select the option for your thermostat model and follow the in-app instructions to link your device. Ensure your Wi-Fi network is stable and the thermostat is connected. Once configured, you can control your HVAC system remotely, set schedules, and enable geofencing for energy-saving automation. This feature enhances convenience and energy efficiency, allowing seamless adjustments from anywhere using your smartphone.
Warranty and Support Information
The Honeywell TH6220U2000 is backed by a limited warranty. Contact Honeywell support for assistance or visit their website for detailed warranty terms and conditions.
11.1 Understanding the Warranty Terms
The Honeywell TH6220U2000 thermostat is covered by a limited warranty, which protects against manufacturing defects for a specified period. The warranty typically covers repairs or replacements for defective parts under normal use. Proper installation and adherence to the manual’s guidelines are often required to maintain warranty validity. For detailed terms, including duration and conditions, refer to the official Honeywell warranty documentation provided with the product or available online.
11.2 Contacting Honeywell Customer Support
For assistance with the Honeywell TH6220U2000 thermostat, customers can contact Honeywell’s customer support team. Support is available through various channels, including phone, email, and live chat. Visit the official Honeywell website for contact details and regional support numbers. Additionally, the Honeywell Home app and online resources offer troubleshooting guides, FAQs, and downloadable manuals to help resolve common issues independently.
With careful installation and setup, the Honeywell TH6220U2000 thermostat enhances home comfort and energy efficiency, supported by comprehensive resources and customer support for optimal performance.
12.1 Final Thoughts on the Installation Process
Completing the installation of the Honeywell TH6220U2000 thermostat successfully requires careful preparation and adherence to the manual. By following the step-by-step guide, users ensure a seamless setup, optimizing their heating and cooling systems for energy efficiency and comfort. Proper installation not only enhances performance but also unlocks advanced features like geofencing and smart home integration, providing a modern and convenient experience. Remember to refer to the manual for troubleshooting and maintenance tips to keep your system running smoothly over time.
12.2 Benefits of Proper Installation
Proper installation of the Honeywell TH6220U2000 ensures optimal performance, energy efficiency, and comfort. It unlocks advanced features like geofencing and smart home integration, enhancing convenience. Correct setup also improves system reliability, reducing potential issues. By following the manual, users can maximize energy savings through programmable schedules and energy-saving modes. A well-installed thermostat extends its longevity and ensures seamless operation, making it a worthwhile investment for modern homes. Proper installation truly elevates the overall functionality and user experience of the device.